Hydroponics, the art of growing plants without soil, has become increasingly popular among gardening enthusiasts. Starting seeds for hydroponics may seem daunting at first, but with the right knowledge and guidance, you can master this skill, ensuring healthy plants and a bountiful harvest. In this article, we’ll walk you through how to start seeds for hydroponics and set you on the path to success.
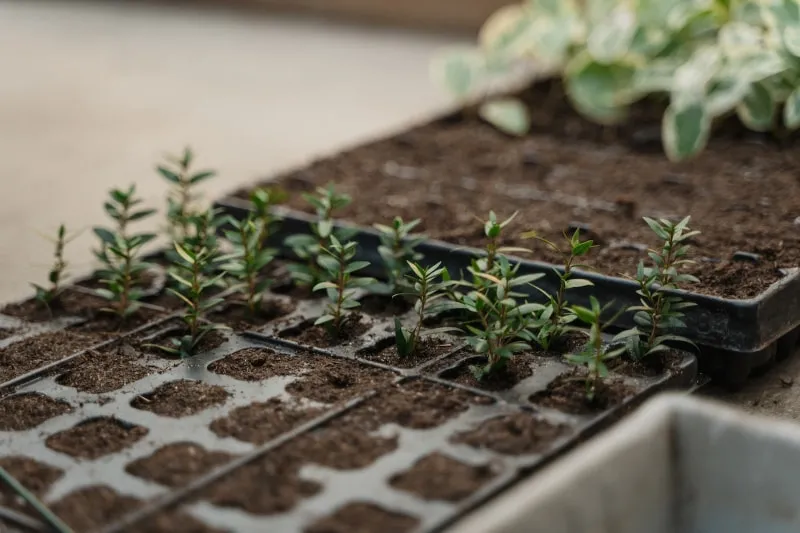
The first thing you need to do is to select a suitable growing medium for your seeds, as traditional soil is not used in hydroponic systems. Rockwool, coco peat, and peat moss are all popular choices. You’ll also want to gather the necessary equipment, such as a humidity dome, a seed tray, and a grow light. Another crucial aspect to pay attention to is maintaining the right environmental conditions, such as temperature, humidity, and pH levels. By following these guidelines, you’ll be well-equipped to start your hydroponic seedlings off on the right foot.
- Why Use Seeds Instead of Seedlings for Hydroponics?
- Seed Starting Basics
- Creating the Ideal Environment
- Setting up the Seed Starter System
- Germination and Early Growth
- Hydroponic Seed Starting In Rockwool
- How To Germinate Seeds For Hydroponics Without Rockwool
- Transplanting and Maintaining the Hydroponic System
- FAQs
Why Use Seeds Instead of Seedlings for Hydroponics?
There are multiple reasons why hydroponic seed germination can be beneficial for your hydroponic system as opposed to using seedlings. Let’s explore these advantages to help you decide on the best way to start growing hydroponically.
Cleaner process: Starting seeds in a hydroponic system is much cleaner than using soil as the medium for seedlings. This not only helps maintain a tidier growing environment, but also reduces the risk of pests and diseases that can hitch a ride on soil-based seedlings.
Faster growth after germination: Hydroponic seeds tend to grow faster after germination compared to their soil counterparts. This more rapid growth means your plants will be ready to transplant into a larger hydroponic system sooner, which can ultimately contribute to higher overall yields.
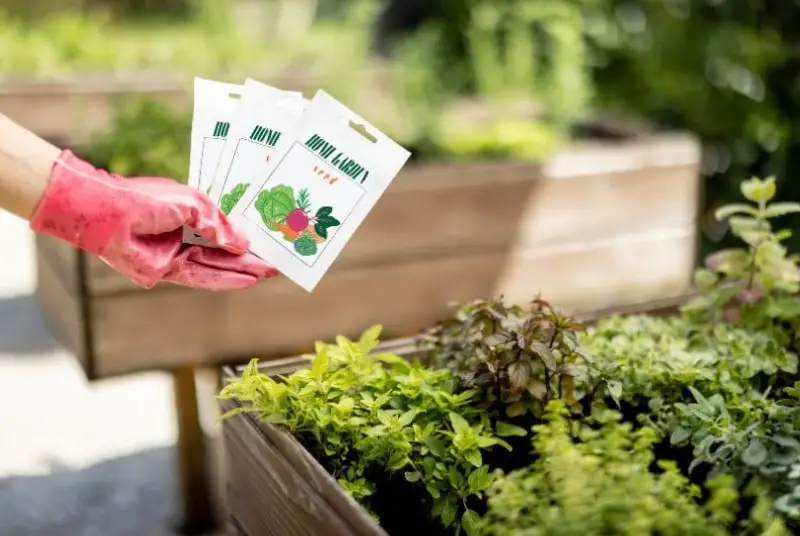
Variety and customization: When you start from seeds, you can choose the variety and type of plants that will grow best in your particular hydroponic setup. This is opposed to being limited by the seedlings available at your local nursery or garden store. By selecting the seeds yourself, you have greater control over the quality and suitability of your hydroponic plants.
Cost-effective solution: Starting from seeds can be cheaper than purchasing ready-made seedlings. Given that seeds often come in larger quantities than individual seedlings, you’ll likely save money in the long run by starting your hydroponic journey with seeds.
Seed Starting Basics
Choosing the Right Seeds
Are hydroponic seeds different from seeds planted in soil? No, they’re not but look for seeds that are suited for hydroponic growing, as not all plants thrive in soilless conditions. Consider the space and light requirements of the plants you’re interested in, too, as these factors can impact their growth. Keep in mind that some seeds may require different care in hydroponics, so research each plant’s requirements to set them up for success.
Selecting a Growing Medium
Selecting the right growing medium is crucial for successful seed starting in hydroponics. Several mediums work well for hydroponic seed starting, and each has its own set of advantages and disadvantages.
- Coco Coir: Coconut coir or coco peat, made from coconut husks, is an entirely natural growing medium that retains water well and provides excellent aeration. It also has a neutral pH. Make sure to soak the coco coir before using it to eliminate any excess salts.
- Rockwool Cubes: Rockwool cubes are a popular choice for hydroponics due to their excellent water retention and good aeration. However, they often have a high pH level. Pre-soaking the cubes in pH-adjusted water can help mitigate this issue. Learn how to use Rockwool to start seeds here.
- Vermiculite: Vermiculite is a mineral-based medium that can retain water and nutrients. It provides good aeration, but it can be messy to work with. Pre-soaking the vermiculite is also recommended to eliminate dust.
- Starter Plugs: Seed starter plugs typically come in a variety of types, such as peat, foam, or other materials. These plugs are convenient, as they often come pre-filled with a nutrient solution and maintain a neutral pH.
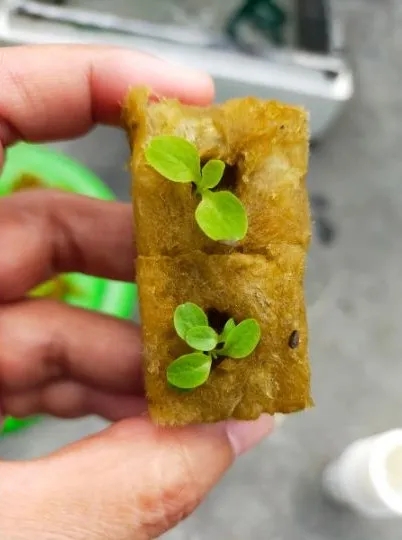
Once you’ve selected your starting medium, it’s time to plant your seeds. Place one or two seeds in the holes provided by the growing medium, and make sure they have the proper conditions to germinate, such as a warm environment and sufficient humidity. As your seedlings grow, adjust light intensity and raise the grow lights as needed—keeping a distance of at least six inches from the plant tops. The seed packet should have this information printed on it. Monitor your seedlings closely and transplant them into your hydroponic system once their roots start poking out of the growing medium.
Creating the Ideal Environment
Light Requirement
When germinating seeds for hydroponics, one of the most crucial factors is light. Seedlings require an adequate amount of light for optimal growth. You can use artificial grow lights, such as LED or fluorescent lights, if you are growing indoors. Remember to place the grow lights about 6 inches above the seedlings and adjust as they grow taller.
Temperature and Air Control
Providing the right temperature and air is critical for your hydroponic seeds to germinate and thrive. Maintain a temperature between 65°F and 75°F, as it is an ideal range for most plants. You can use a thermostat to control and monitor the temperature. Additionally, ensure proper air circulation to avoid stagnant air and potential plant diseases. Using a small fan inside your growing area can help with air circulation.
Water and Nutrient Solution
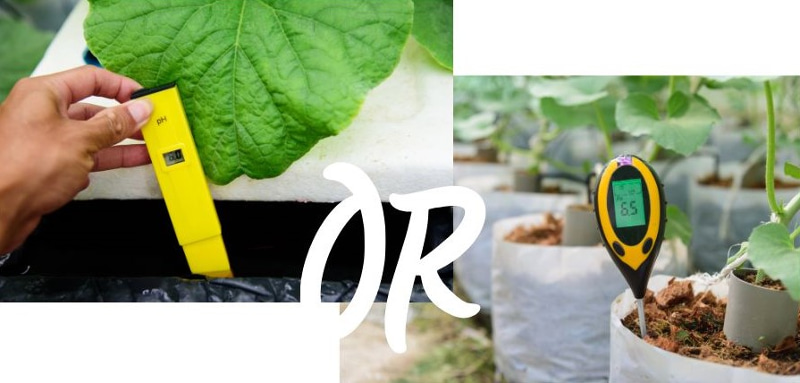
Hydroponic plants rely on water and nutrient solutions to grow, as they don’t have soil for nutrients. The pH and EC levels should be optimum to ensure good nutrient absorption. Start by ensuring your water pH is between 5.5 and 6.5, which is suitable for most plants. If adjustments are needed, use pH up/down products. Also keep the electrical conductivity (EC) between 1.2-2.0.
For nutrient solutions, follow specific guidelines provided by the manufacturer. It’s essential to provide the right concentration of nutrients for your plants.
Here are some general steps to follow when preparing your nutrient solution:
- Fill your reservoir with water.
- Test and adjust pH and EC as needed.
- Mix the nutrients according to the instructions.
- Add the solution to your reservoir.
- Monitor nutrient concentrations and pH throughout your plant’s growth cycle.
By carefully maintaining the light, temperature, air, and nutrient conditions, you create an ideal environment for your hydroponic seeds to grow into healthy plants.
Setting up the Seed Starter System
In this section, we’ll guide you through setting up a seed starter system for hydroponics, which will consist of trays and containers, an air pump and tubing, a heating mat, and net pots.
Trays and Containers
When preparing your seed starting system, it’s essential to find suitable trays and containers to hold your growing medium. Your containers should be big enough to accommodate the soaked growing medium and future plant growth. Use a nursery tray as it allows easier placement of growing mediums and helps maintain an organized seed starting environment.
Air Pump and Tubing
An air pump is necessary for ensuring the roots of your seeds stay moist and promote root growth. Place an air stone in your reservoir and connect the tubing to the stone. Attach the other end of the tubing to the air pump and plug it in. You should see bubbles coming out of the air stone, which helps nourish the plants’ roots.
Heating Mat
A heating mat is a useful investment to help maintain the correct temperature for your seedlings to grow. Place your nursery trays on the heating mat, and this will foster proper germination by providing a consistent and optimal temperature. Keep in mind that different plant species may require varying temperatures, so adjust the heating mat as needed. You do need to be careful using one, so read our guide on how to use a heat mat for germination.
Humidity Dome
When used in combination with heat mats, humidity domes are a useful aid for the germination process. They aid in preventing the seeds from drying out, keeping the growing medium wet, and providing an ideal setting for the seeds to germinate. The majority of your seeds will sprout even without a humidity dome, but you may speed up the process and enhance your yield by utilizing one.
Conveniently, you can get a humidity dome, heating mat and seed starting tray and container set to start propagating your hydroponic seeds properly.
Net Pots
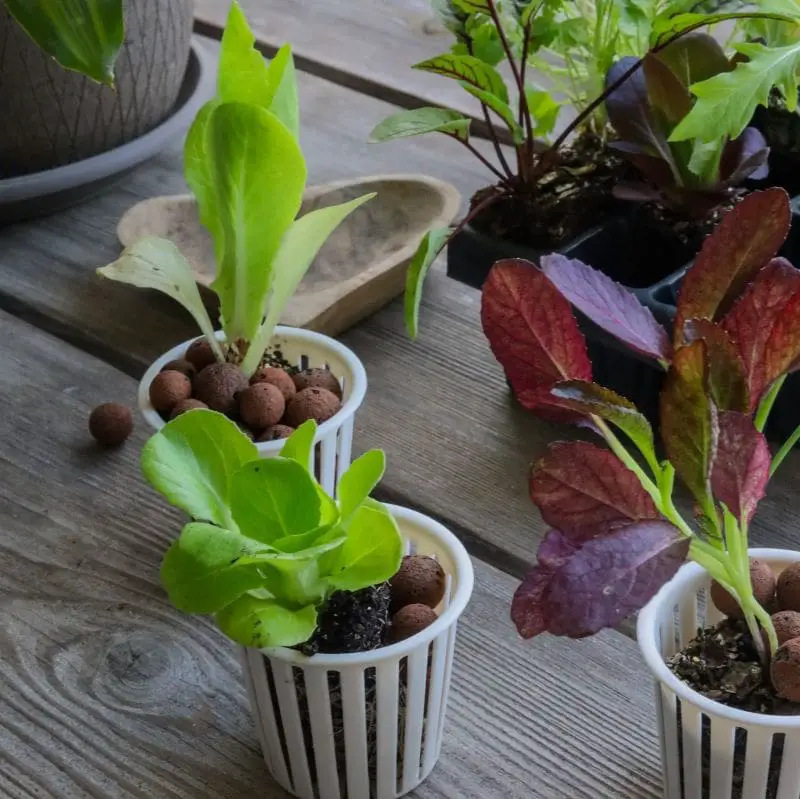
To start seeds in a hydroponic system, you will need to use net pots which allow seedlings’ roots to grow through the mesh while still receiving the necessary nutrients from the solution. Soak the starter plugs in water and then place them in your net pots but make sure to drain off any excess water, as the seeds can struggle otherwise. Add several seeds to each plug, as not all of them may germinate; it’s better to have some extras to ensure success.
Remember to maintain a friendly and nurturing environment for your seedlings, as a thriving hydroponic system begins with healthy and robust seeds.
Germination and Early Growth
Planting the Seeds
To start your hydroponic garden, first, choose your preferred growing medium, such as starter plugs or Rockwool starter cubes. Soak your chosen medium in water to moisten it. Once it’s moist, place it in a net pot or tray. Drop 2-3 seeds in each starter plug or Rockwool cube. Ensure to follow variety-specific instructions for seeding depth and spacing.
Monitoring the Germination Process
For successful germination, it’s crucial to maintain proper moisture and temperature levels. Cover your seeds with a fine layer of vermiculite and/or a plastic humidity dome to retain moisture during germination. Use a thermometer to monitor the environment’s temperature, which generally should be between 65°F and 75°F.
This method reduces time and seed expenditures. Humidity domes should be left on the tray until you notice sprouting, or until the first indication of germination. After that, take off the cover and put the trays somewhere bright and airy. Seedlings may develop leggy if they are not exposed to light soon enough. During this time, monitoring your sprouting seeds is essential.
During germination, pay attention to the water’s pH levels. Test it regularly to ensure it falls within the recommended range for your plant species. Some growers also suggest adding a half-strength solution or lower nutrient solutions to seeds at this stage for quicker germination.
Caring for Seedlings
While your seedlings are germinating and growing, there are a few things you should do to ensure their health:
- Monitor the moisture: Make sure the growing medium stays moist but not overly saturated. Too much water can harm or even drown your seedlings.
- Observe for roots: Watch for signs of root growth, as this marks the beginning of your plant’s establishment in the hydroponic system.
- Check pH and nutrient levels: Continue monitoring the pH levels and ensure your seedlings receive the proper amount of nutrients as they grow.
- Provide proper lighting: Seedlings need adequate light to thrive, so be sure to provide the necessary light intensity and duration based on your plant species.
- Control temperature: Keep an eye on the temperature, maintaining the optimal range for your specific plants.
By following these steps, you’ll effectively nurture your seedlings and set them up for success in your hydroponic garden.
Hydroponic Seed Starting In Rockwool
To start seeds using Rockwool, begin by soaking the Rockwool cubes in water until they are completely saturated. Then, use a sharp knife to cut a small hole in the top of each cube. Place one seed in each hole and gently press it down so that it is covered by the Rockwool.
Next, place the Rockwool cubes in a tray and cover them with a humidity dome or plastic wrap to keep them moist. Keep the tray in a warm, dark place until the seeds germinate. Once the seeds have germinated, remove the humidity dome or plastic wrap and place the tray under grow lights or in a sunny window.
As the seedlings grow, keep the Rockwool cubes moist by watering them regularly. When the seedlings are large enough to transplant, gently remove them from the Rockwool cubes and transplant them into net cups filled with a growing medium such as expanded clay pellets or perlite.
How To Germinate Seeds For Hydroponics Without Rockwool
There are a number of reasons why you may not want to use rockwool as a seed starting medium, such as the high cost, high water retention, naturally high pH, and non-biodegradability. The good news is that germinating seeds for hydroponics without rockwool can be done using a variety of mediums such as coco coir or peat pellets.
- Jigsaw foam: This is a type of foam that can be cut into small pieces and used as a seed starter. It provides good aeration and drainage for the seeds.
- Peat pellets: These are small compressed discs made of peat moss that can be used as a seed starter. They provide good drainage and aeration for the seeds while also retaining moisture.
- Clay pellets: These are small, round pellets made of clay that can be used as a seed starter. They provide good drainage and aeration for the seeds.
- Rice hulls: These are the outer layer of rice grains and can be used as a seed starter. They provide good drainage and aeration for the seeds.
- Coco coir: This is a fibrous material made from coconut husks and can be used as a seed starter. It provides good drainage and aeration for the seeds while also retaining moisture.
- Vermiculite: This is a mineral that can be used as a seed starter. It provides good moisture retention and aeration for the seeds.
- Perlite: This is a volcanic glass that can be used as a seed starter. It provides good drainage and aeration for the seeds.
To use these starter mediums, simply fill a tray or container with the medium and plant the seeds according to the instructions for the specific type of seed being used. Keep the medium moist but not waterlogged, and keep the seeds in a warm, dark place until they germinate. Once the seeds have germinated, they can be transplanted into a hydroponic system.
Using Paper Towels to Germinate Seeds
As an alternative to using seed starting media placed in containers or growing trays, starting seeds for hydroponics using paper towels is a simple and effective method that can help you get your plants off to a great start. To use this method, simply moisten a paper towel and place your seeds on top, making sure they are spaced out evenly. Then, fold the paper towel over the seeds and place it in a plastic bag or container. Keep the container in a warm, dark place, such as a closet or cabinet, and check on it every few days to make sure the paper towel stays moist.
Once your seeds have sprouted and the seedlings have developed a few sets of leaves, you can transplant them into your hydroponic setup. This method is easy to set up, requires minimal materials, and can be a great way to get your hydroponic garden started quickly and easily. Some experienced gardeners even say that this is the best way to germinate seeds for hydroponics on a small scale.
Transplanting and Maintaining the Hydroponic System
When To Transplant Hydroponic Seedlings to the Final System
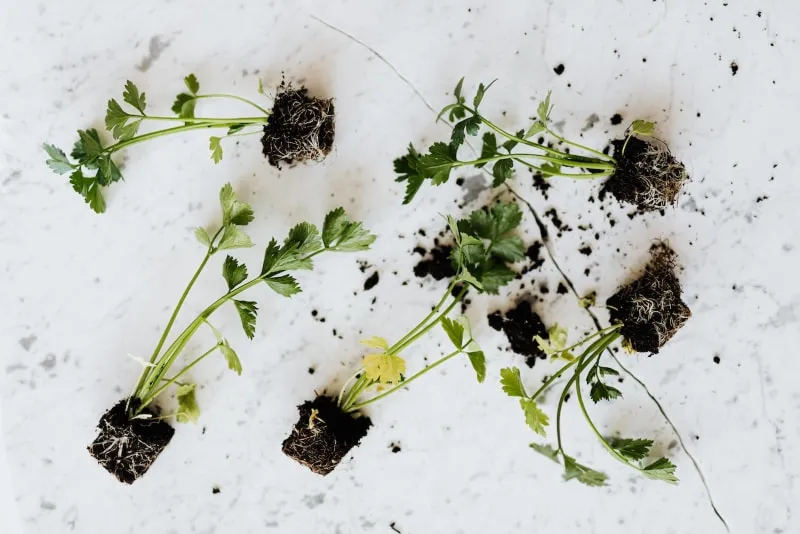
After your seedlings have developed adequate root growth and 3 to 4 true leaves, it’s time to transfer them into your hydroponic system. Carefully remove the seedlings from their plugs or grow tray and place each seedling into a net cup filled with a growing medium, such as perlite or coconut coir. Gently secure the seedlings in the net cups, ensuring the roots are not damaged, and place the net cups into the final hydroponic system.
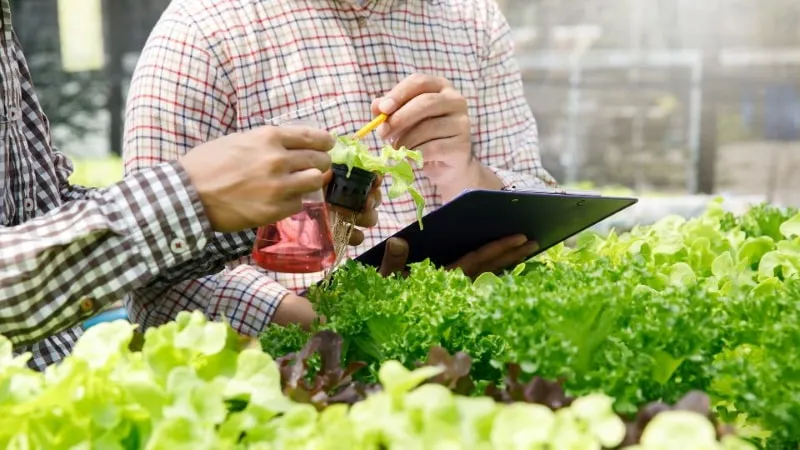
Keep an eye on your seedlings as they settle into their new environment. Make sure their roots are reaching the nutrient solution, and adjust the water level or net cups if necessary. You may also need to provide supplemental grow lights for plants that require more light, especially during the early stages of growth.
Monitoring and Adjusting pH and Nutrient Levels
As your hydroponic system operates, it’s essential to monitor water levels and top off the nutrient solution, as evaporation can lead to higher nutrient concentrations. Replace the reservoir solution, typically every 1 to 2 weeks, to prevent nutrient imbalances in the system. Keep a consistent temperature and pH level for efficient nutrient uptake.


